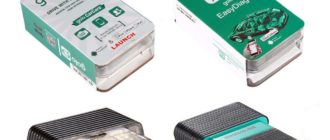
Instruction for flashing MUCAR BT200 via ST Link
Required equipment: STLink
1. The first step is to disassemble your mucar and solder 5 pins

2. Plug pins to ST Link as shown in the photo below
1 – “-” GND to 6
2 – SWCLK to 2
3 – “+” Vcc to 8
4 – SWDIO to 4
5 – RESET to 5. Warning! Important to GND (5) not to RESET (1)

3. Steps
1. Connect all 5 pins from Mucar to ST Link and plug into USB
2. Open ST Link Utility
3. Click connect and after half second unplug RESET (5) pin
4. Clear option bytes
5. Program flash
6. Done!
After a successful write, the Mucar firmware can be assembled. Next, you need to download the EOBD brand in the
Diagzone PRO application, version V2.00.006 or later, the device will be configured during the verification, it is very
important not to turn off the power of the device during the verification


After that you can write to me for activation all cars.
Email: jdarscht7@gmail.com
WhatsApp/Viber/Telegram: +79319763996 (rus, eng)
Price for activation Diagzone all cars for Mucar bt200 / Thinkcar Pro:
- Cars 1 year update – 65 usd;
- Cars + Electric vehicles 1 year update – 80 usd;
- Cars + Electric vehicles + Trucks – 130 usd.
Attention, for activation you should buy Mucar or Thinkcar pro which support Diagzone activation. For example, like this.
Converter from 24V to 12V for diagnosis trucks – here
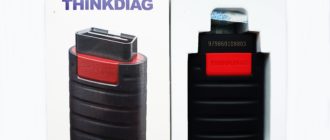
If you dont want open adapter and reflash it – you can buy Thinkdiag Old Boot. You should buy old boot, not new boot.

