 After this procedure, there is no need to officially buy a car brand.
It’s even possible not to register Easydiag 3.0 in the official software.
Simply flash the scanner with Xdiagpro3 and then activate Easydiag 3.0 for all car brands.
Scanner 3.0 flashing instruction (part one)
Download firmware for Easydiag 3.0
Download flashing instructions for Easydiag 3.0
For the ST link programmer unit
If you find it difficult to flash the device yourself, you can give your Easydiag 3.0 for flashing here.
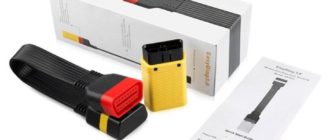
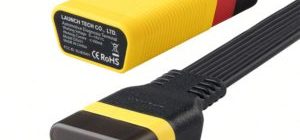
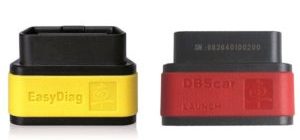
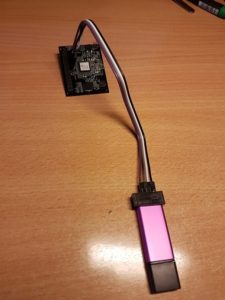
- Take your scanner.
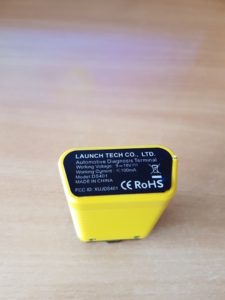
- Remove the sticker (you will see hidden Mini-USB port and LED holes there).
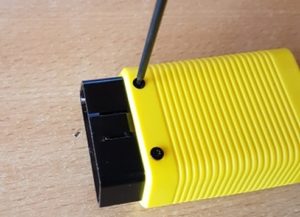
- Screw off the bolts on both sides; T6 screwdriver required.
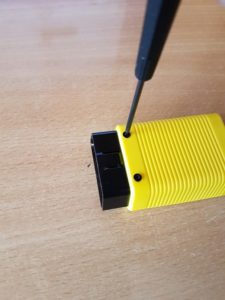
- Open the cover. Gently snap the latches off with your fingernail or special pullers.
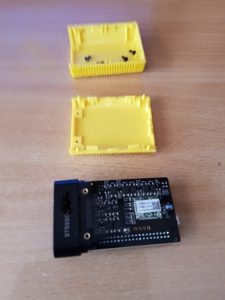
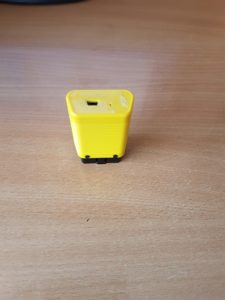
- Split the scanner into parts by disconnecting the connector blocks.
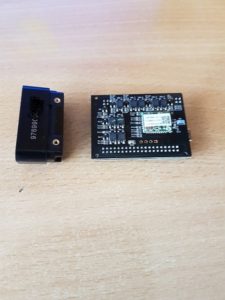
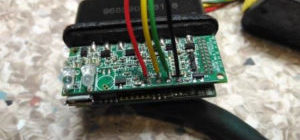
- You will need this scanner board.
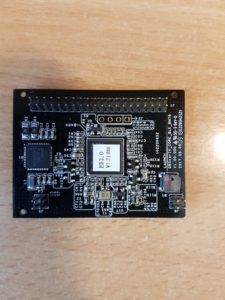
- Now take the soldering iron.
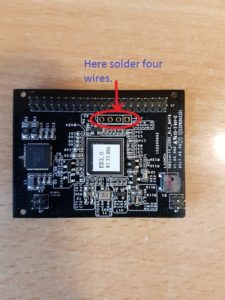
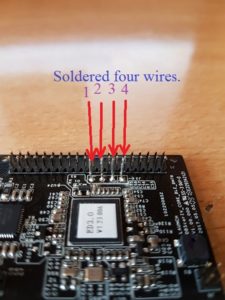
- It should be done approximately like this (you can solder with wires or insert the contact pins from the chips of the connection cable by disassembling them in advance).
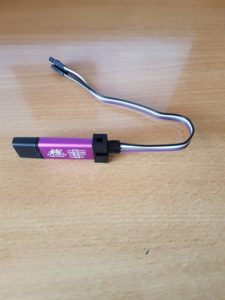
- Take the St-Link v2 programmer unit (costs about 5 USD on AliExpress).
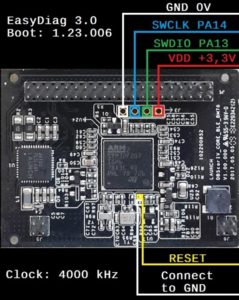
- Connect the programmer unit to the scanner according to the diagram.
Almost done. It should be like this:
Preliminary preparation of the scanner for work is ready.
ST-LINK operation instruction (part two)
We want to warn you right away: if you do it right, everything will work fine. If you do something wrong, it’s all your fault.
So, be careful! Before you start working with the software, evaluate your capabilities well!
- Connect only ST-LINK to the computer into the USB connector.
- Install the STM32 ST-LINK Utility_v4.2.0 software. The driver will also be installed (confirm installation).
- To make sure you have ST-LINK, not J-LINK, run the ST-Link Upgrade software and update the adapter. (But if you have an adapter clone, not everyone will succeed; problems are rare on original adapters).
- Connect the scanner to STLINK and start the STM32 ST-LINK Utility_v4.2.0 software.
- Now we need to run the software. Pressing TARGET and CONNECT does not lead to anything, there will be no connection. You need to close the contacts on the scanner board to make the connection and read the data from the scanner.
- To read the firmware dump you will need tweezers, a paper clip or whatever you have close at hand. You will need to close the contacts as shown in the picture.
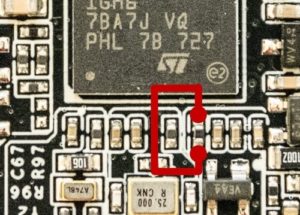
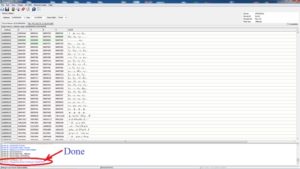
- Press CONNECT and remove the tweezers immediately (open the contacts). The scanner will beep. The software will read your dump. You won’t be needing tweezers anymore. * It may not work on the first try. Try again.
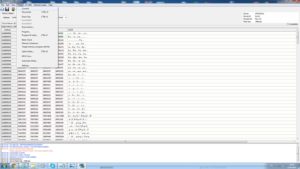
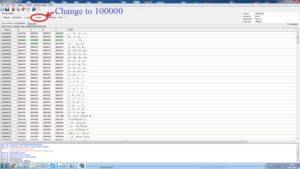
- Now, to be on the safe side, keep your dump on the PC. Change the “Size” value from 1000 to 100000.
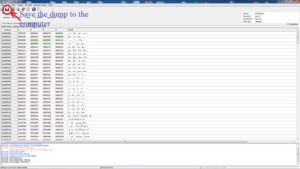
- Click on the “floppy” icon and save the dump on your PC.
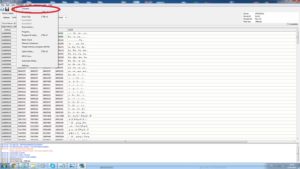
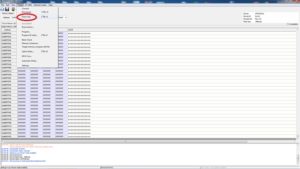
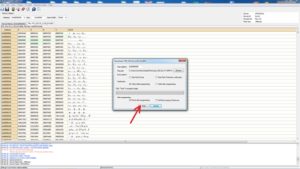
- Remove everything from the scanner so that you can upload new firmware. Press TARGET, select “ERASE CHIP” and press OK.
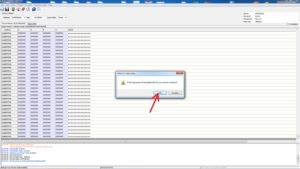
- Confirm your actions.
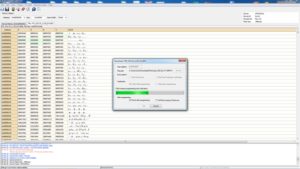
- Now you have to upload your dump. Press TARGET and select “PROGRAM & VERIFY…” Select the firmware file (it will be immediately read by the software) and press “START”.
- Wait for the flashing to finish.
- Done. The scanner has been updated with a new loader and firmware.